Monthly Archives: March 2015

Laurena Longarm does Quilt Binding Boston

Heather Bailey’s Great Quilt Binding Guidance

Alanna led a session on binding quilts at the Common Cod Fiber Guild’s FiberCamp earlier this month. Turns out there’s some unfinished quilts in the world… are we surprised?

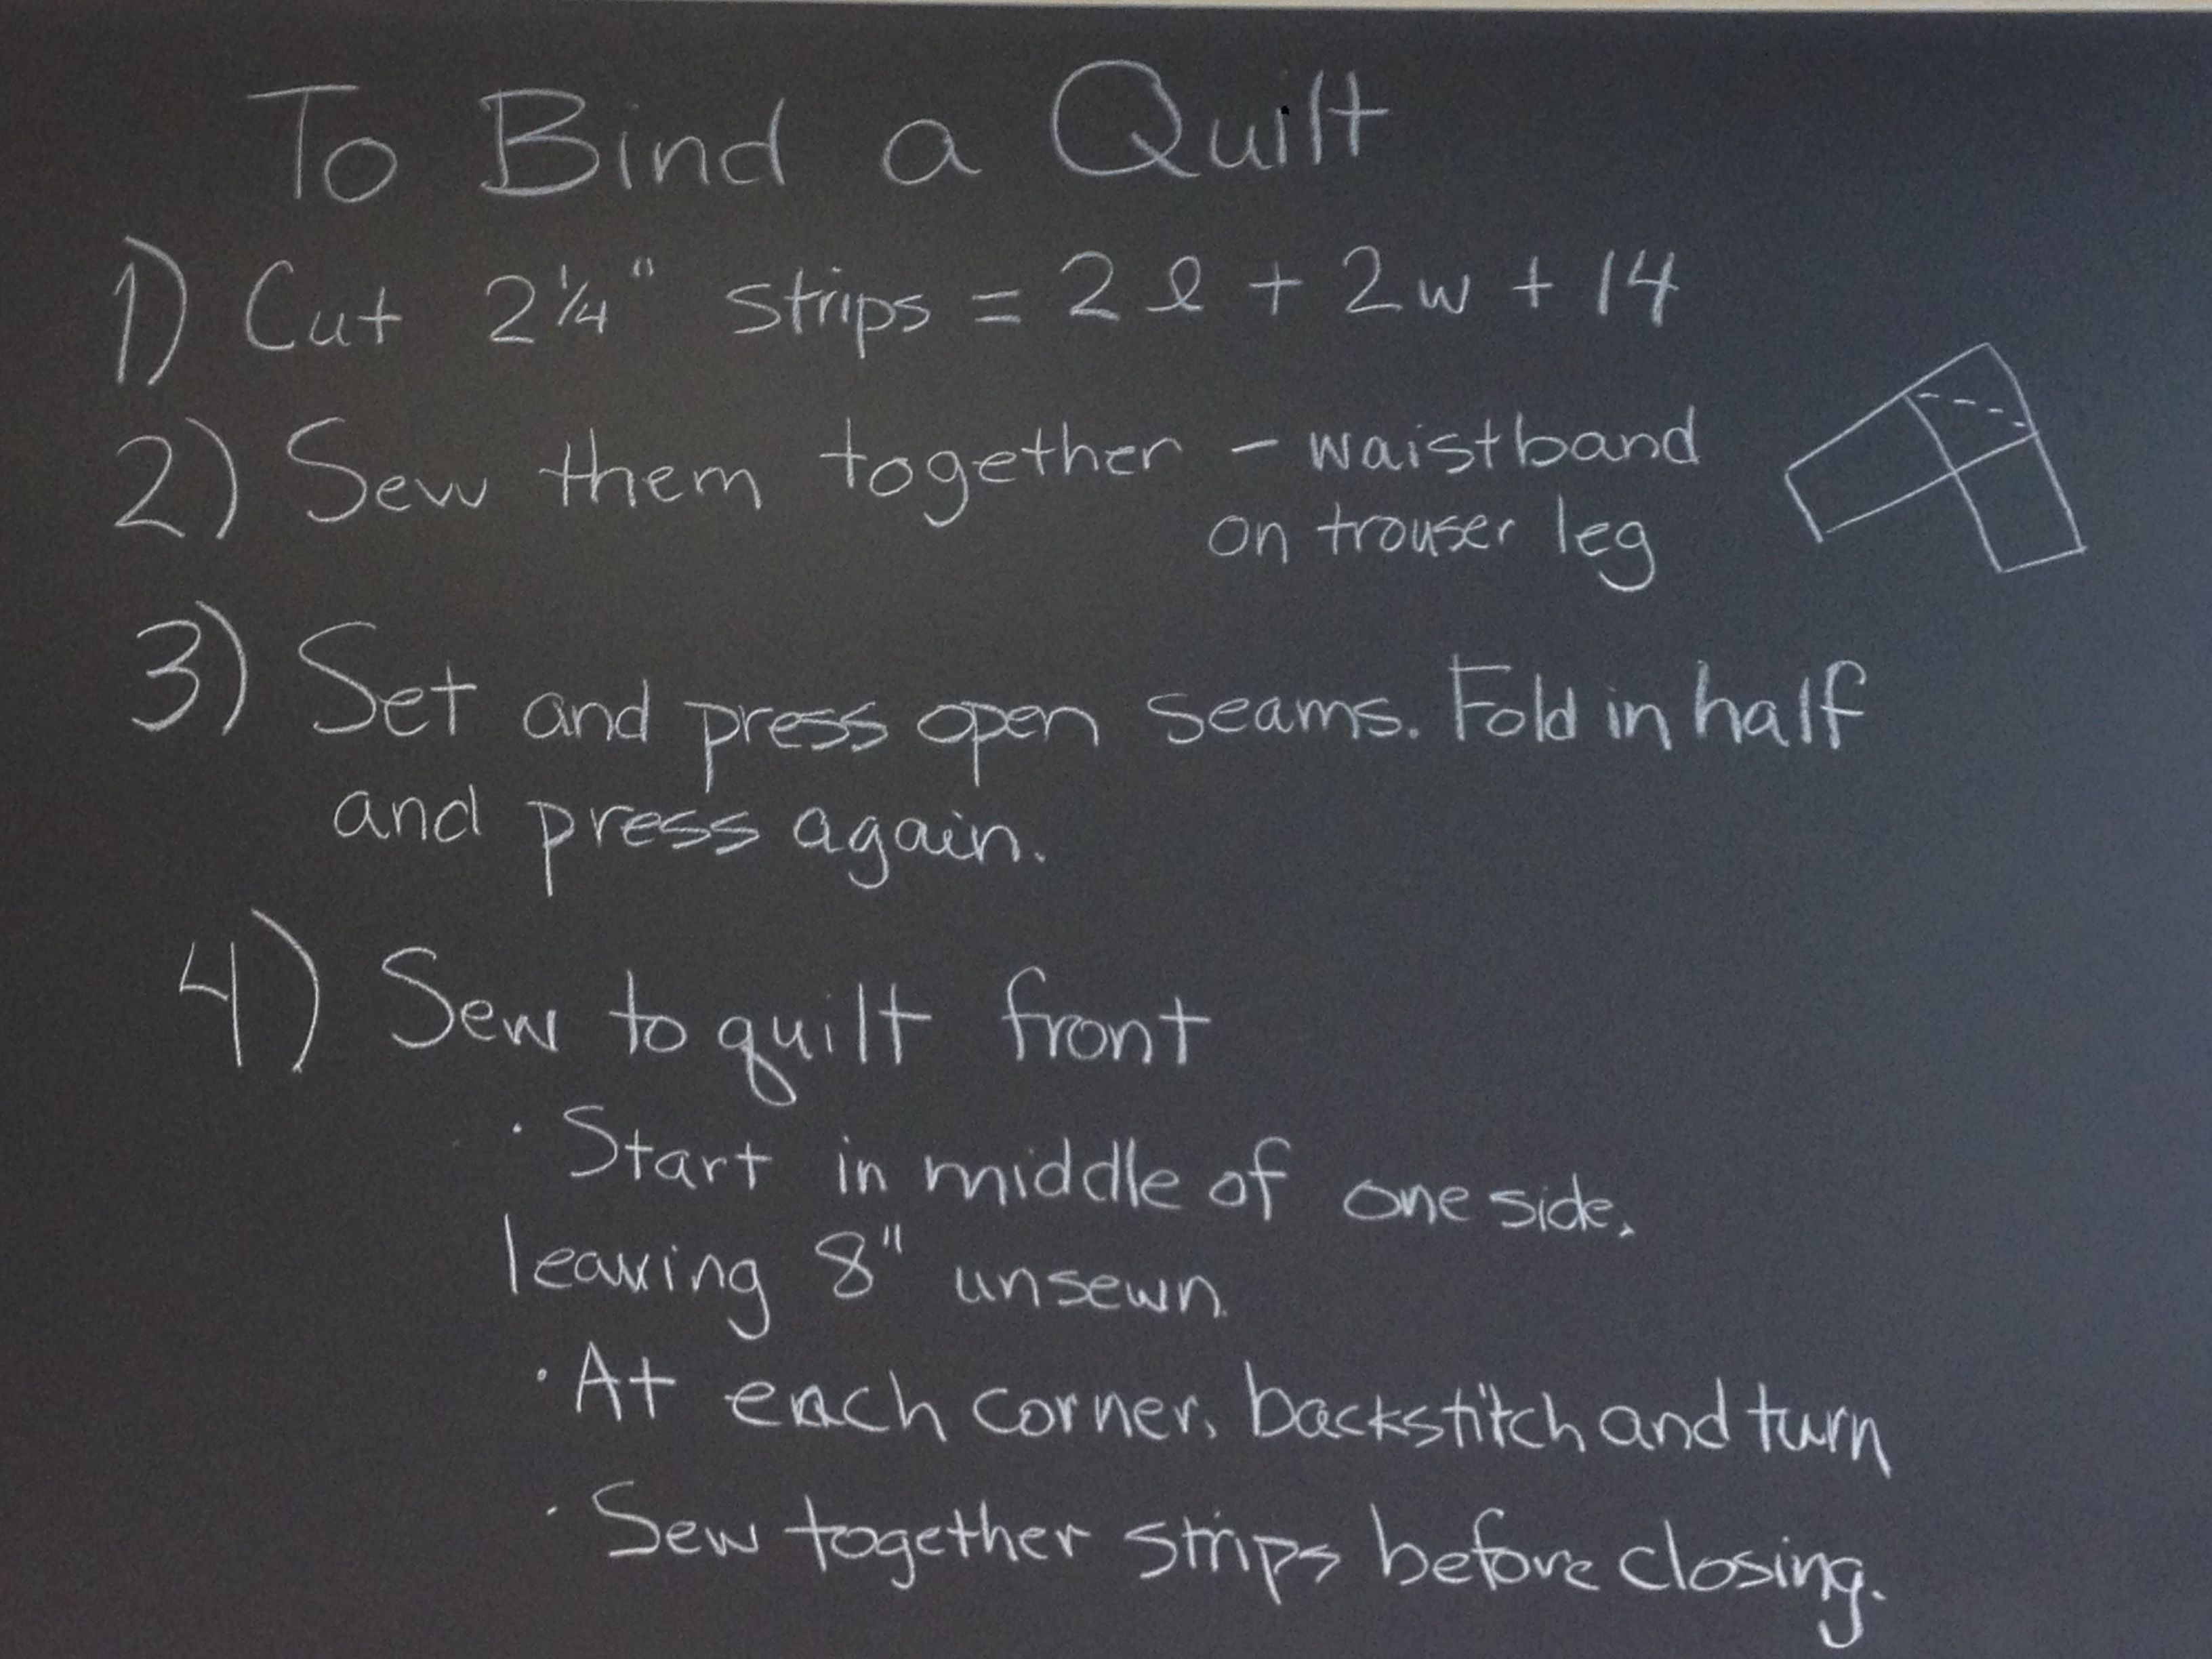
On the board, she outlined the basic steps (practicing her chalk manipulation skills). There were a lot of good questions.

Laurena Longarm does Quilt Binding Boston Don’t you have to create bias strips for your quilt? Not unless the edge of your quilt has scalloped or curved edges. Marianne Fons and Liz Porter have a great description of how to make bias strips in their Quilter’s Complete Guide.

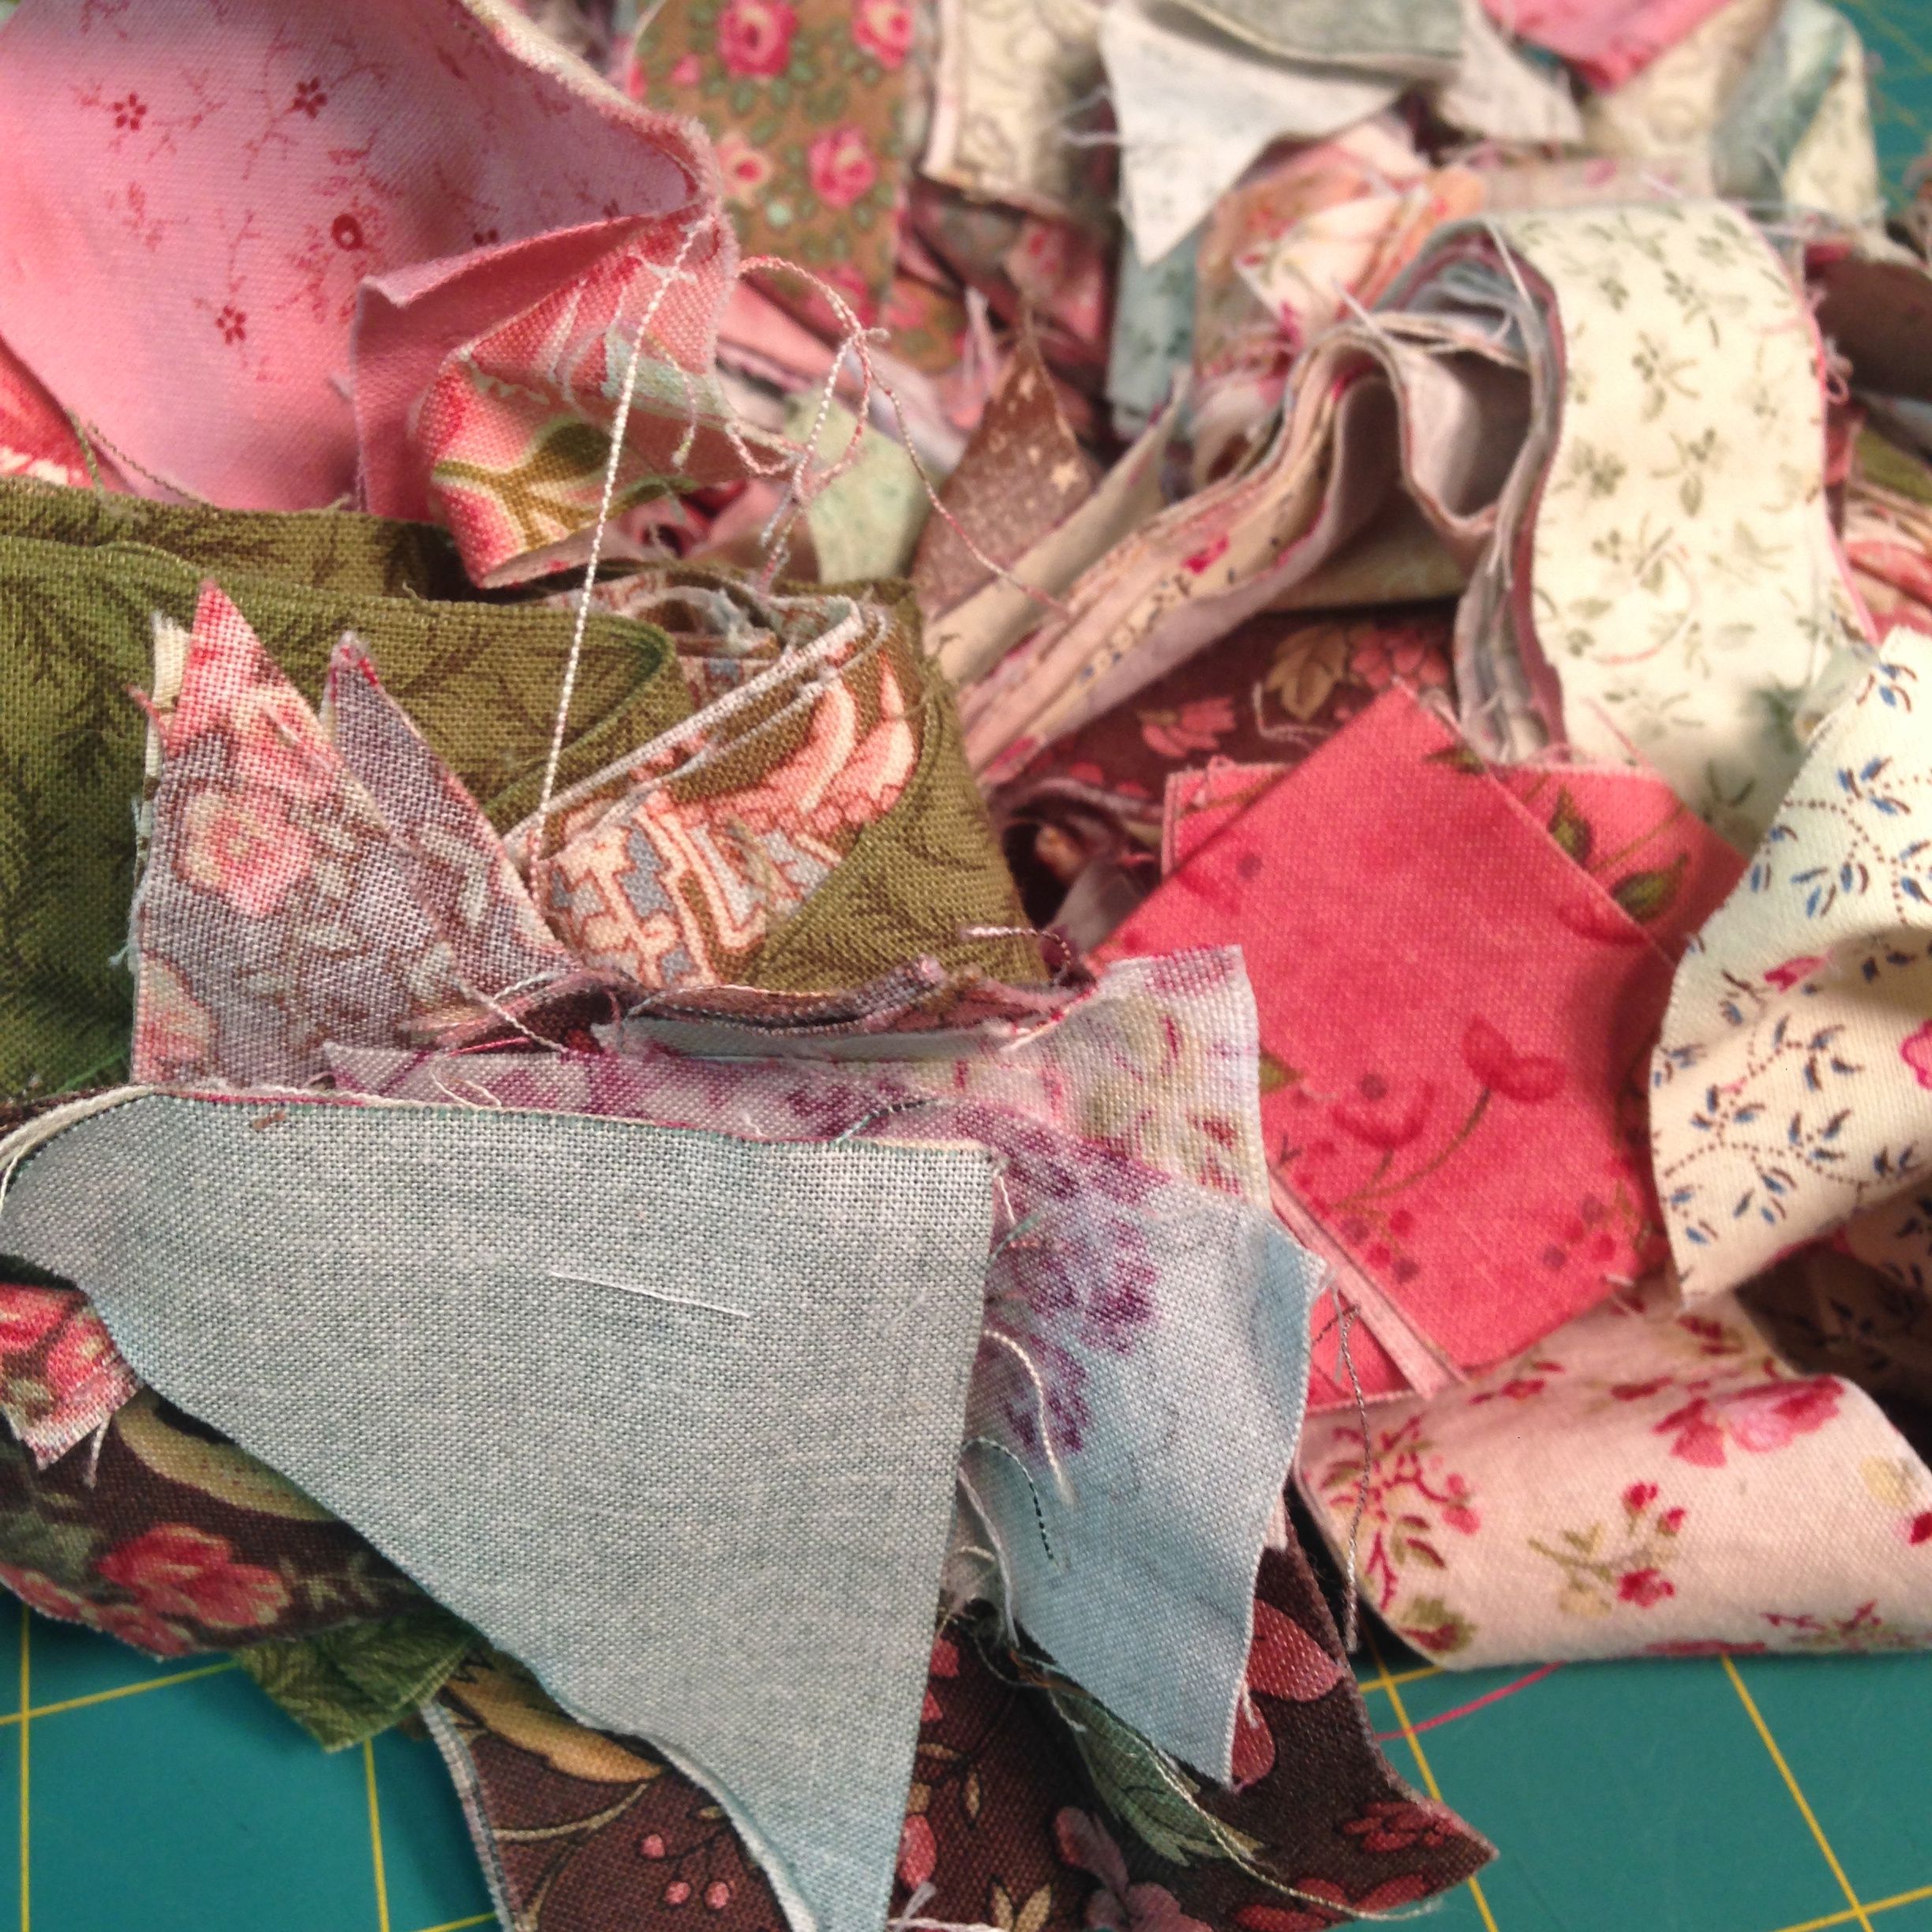
How do you deal with all of that fabric?

  • Surround your sewing space with tables to support the weight of the quilt.
  • If your sewing machine isn’t set into a table, consider purchasing a table extension.
  • Most importantly, sew with one hand before the presser foot and the other hand after the presser foot. This helps guide the machine and ensures good stitch composition for all of your sewing.

Laurena traditionally shares Heather Bailey‘s fabulous hand out on how to do continuous quilt binding. Alanna shared the “waistband” tip on sewing binding strips.

Everyone had a chance to try sewing a machine binding on the second side with Jeremiah’s fabulous 1959 White sewing machine, whose stitches moved smoothly and strongly along the many layers of fabric.

Alanna also shared 3 tips for hand sewing:

  1. Thread your needle while it is still attached to the spool. This way you are sure to follow the spin of the thread, which makes things much easier for threading and stitching.
  2. Coat your thread with thread heaven. This conditioner reduces drag, doesn’t leave a residue and is safe in the long term for your fabrics. Alanna uses this for beading and embroidery as well.
  3. Keep your thread lengths less than the distance from your fingertip to your elbow. This reduces tangles.

Now, in true FiberCamp tradition, Alanna would love to hear any tips you have on binding quilts. What makes quilt binding easier for you?

9 Steps to Piece a Quilt Back with Print Fabrics

Some fabrics are just too fun to pass up. I love large scale prints, and many are great to cut up for blocks. Other yardage stays whole, destined for the quilt back.

Whoa is me when I don’t take the time to match up the patterns when piecing the back. I’ve done it once. Never again.

Many moons ago, I bought many yards of Hawaiian fabric on Kauai. One morning, I slapped two pieces of that fabric together for a large quilt back. No, worry, it wouldn’t bug me if the print repeats don’t match. Every time I put that quilt on a bed, the mismatched fabric drives me crazy. I could still snag a yard of this plumeria fabric on Etsy….

Laurena Longarm Quilting print quilt back sewing services Burlington MA
Plumeria hawaiian quilt print fabric

Alas fair quilter, you have been warned:

Follow these 9 steps to match the fabric on your quilt back.

Laurena Longarm Quilting Services Burlington, MA Boston Metro
Think how distracting this back would be if the circles weren’t matched!
  1. Measure the repeat of your fabric. With your ruler, measure a straight line from the top of design motif to the top of the next motif. This determines the offset needed to match the fabric.
  2. Cut one length of fabric equal to the desired quilt back length Add 6″ – 10″ to the quilt top length to figure out what that length should be. Add a bit more so you can square the quilt back with peace of mind.
  3. Cut a second length of fabric the Desired quilt back length PLUS Repeat PLUS Wiggle room. For example
    1.  Fabric repeat = 12″
    2. Quilt top = 60″
    3. Desired quilt back length 70″
    4. Matching fabric length = 70″ + 12″ + 4″ = 86″
  4. Cut the selvedge edge off one side of the first length of fabric.
  5. Press the newly trimmed edge back to create a half inch (0.5″) border down the entire length of the fabric.
  6. Pin baste the 2 lengths of fabric together. This is easier if you can lay it out on a table or floor. We use pins, but Laurena wonders if any of you have tried using double sided tape to baste. Gwen’s tried with glue sticks, but that’s a lot of stick if the quilt back is big!
  7. Baste the edges together. If you use matching thread, you don’t have to worry about removing the thread later. A ladder stitch between the fabrics at half inch (0.5″) intervals is fine.

    Laurena Longarm Quilting pieced back sewn
    Basting the layers together
  8. Sew the two lengths together along that pressed fold line.
  9. Trim the seam allowance. It doesn’t need to be a strict quarter inch, but be sure to cut off the selvedge of the second piece. Press to one side.

Pat yourself on the back! It may take time, but it’s not difficult to piece a quilt back with print fabric. Don’t forget to square your quilt back before you start quilting.

Now that you know how I do it, I’m excited to hear any tips you have to improve my process. Do comment and share your quilty goodness.

Piecing quilt backs not your thing? Then don’t worry, you can ask Laurena’s Longarm Quilting to piece your back for you.

After all, quilting is a pleasure!

Laurena Longarm Quilting pieces backs near Boston

We can piece that back for you!

What to do if you just don’t feel like piecing together that quilt back?

Bring it to Laurena’s Longarm Quilting!
We construct quilt backs in all sizes, from baby to California King.

Our costs are quite reasonable and you can count on a solidly pieced back.  Take a peek at our brochure for a complete list of the prices and services available, but here’s the basic pricing for backs.

Quilt Back Piecing (priced by square inch)
Quilt Top Size(length x width) Single Seam Surcharge formatch, multi seam
<2,000 sq inch $15 $10
2,001 – 6,999 $20 $10
7,000 – 9,999 $25 $10
10,000 + $30 $15

Let’s say you have a queen size quilt that measures 62″ x 84″. Its area (length times width) is 5,208″. If you just need one single seam, the cost would be $20. Does your fabric have a large scale or directional print that needs matching? Then it would cost $30.

(That reminds me, I said I’d write a post on how to match directional fabrics…)

If you’ve been a longtime Laurena customer, you immediately notice that this table is  more complex than our old flat rate. It makes sense that prices reflect the actual time spent on the work involved, right?

Any questions? We’re always happy to help!

Laurena Longarm Pieced Quilt Backs

5 steps to a pieced twin or queen size quilt back.

You’ve spent hours cutting, stitching, pressing, squaring and assembling fabric.

Hallelujah!

That quilt top

Is done.

Be sure to give the same loving attention to your back. If your top is larger than baby or lap size, chances are you’ll need to piece your back (although you can always choose the extra wide Sew Batik backs and be on your merry way :)).

Here are the 5 steps to making a quilt back from 42 – 44″ fabric. It doesn’t include the steps for matching large scale or directional fabric. I’ll do that in a future blog post.

1) Cut 2 pieces of fabric that are 6 – 10″ longer than the quilt top.

2) Match the pieces together at the selvedge edges. Sew one side with a 1″ – 1.5″ seam allowance (I know, after all of those quarter inch seam allowances, this looks enormous).

3) Press the seams to set the stitching.

4) Lining your ruler along the stitching line, trim to a ½” seam allowance with a rotary cutter. Now you’ve removed the selvedge edge. Selvedges are a stiffer weave and may shrink differently than the rest of your quilt fabric, even if you’ve already washed and pressed it. Also, why tempt the needle to skip as it works through seam allowances and a selvedge.

5) Press your seams to one side.

This quilt back results in a center seam in the middle of the back. There are those who believe that quilt backs shouldn’t have a center back seam. If you hang out with that group, then sew the selvedge edges together on both sides in Step 2. You’ll have an additional step of cutting the tube open to create the quilt back. Your quilt back will have 2 seams.

Quilt backs can be as much fun to piece as the top. Looking for ideas for piecing quilt backs? Want more? Check out Kathy Matthews’ adventures with quilt backs.

Now that you’ve pieced it, don’t forget to square your quilt back!