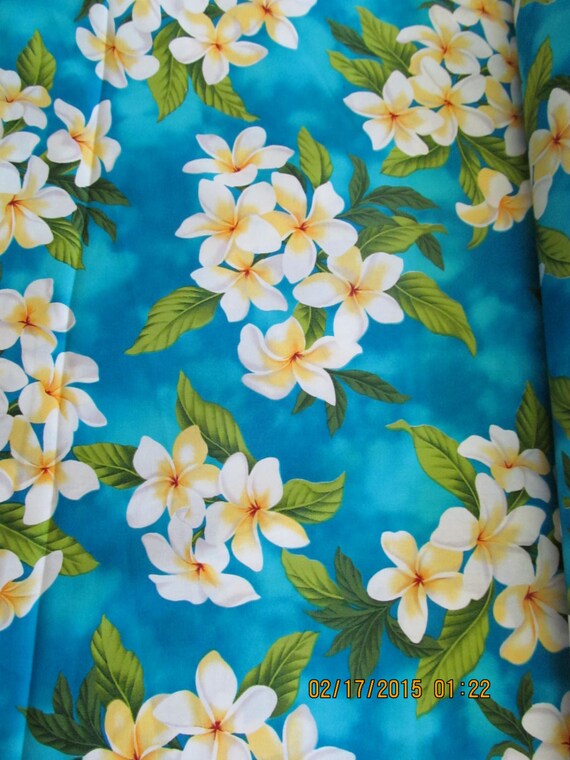
Some fabrics are just too fun to pass up. I love large scale prints, and many are great to cut up for blocks. Other yardage stays whole, destined for the quilt back.
Whoa is me when I don’t take the time to match up the patterns when piecing the back. I’ve done it once. Never again.
Many moons ago, I bought many yards of Hawaiian fabric on Kauai. One morning, I slapped two pieces of that fabric together for a large quilt back. No, worry, it wouldn’t bug me if the print repeats don’t match. Every time I put that quilt on a bed, the mismatched fabric drives me crazy. I could still snag a yard of this plumeria fabric on Etsy….

Alas fair quilter, you have been warned:
Follow these 9 steps to match the fabric on your quilt back.

- Measure the repeat of your fabric. With your ruler, measure a straight line from the top of design motif to the top of the next motif. This determines the offset needed to match the fabric.
- Cut one length of fabric equal to the desired quilt back length Add 6″ – 10″ to the quilt top length to figure out what that length should be. Add a bit more so you can square the quilt back with peace of mind.
- Cut a second length of fabric the Desired quilt back length PLUS Repeat PLUS Wiggle room. For example
- Fabric repeat = 12″
- Quilt top = 60″
- Desired quilt back length 70″
- Matching fabric length = 70″ + 12″ + 4″ = 86″
- Cut the selvedge edge off one side of the first length of fabric.
- Press the newly trimmed edge back to create a half inch (0.5″) border down the entire length of the fabric.
- Pin baste the 2 lengths of fabric together. This is easier if you can lay it out on a table or floor. We use pins, but Laurena wonders if any of you have tried using double sided tape to baste. Gwen’s tried with glue sticks, but that’s a lot of stick if the quilt back is big!
- Baste the edges together. If you use matching thread, you don’t have to worry about removing the thread later. A ladder stitch between the fabrics at half inch (0.5″) intervals is fine.
- Sew the two lengths together along that pressed fold line.
- Trim the seam allowance. It doesn’t need to be a strict quarter inch, but be sure to cut off the selvedge of the second piece. Press to one side.
Pat yourself on the back! It may take time, but it’s not difficult to piece a quilt back with print fabric. Don’t forget to square your quilt back before you start quilting.
Now that you know how I do it, I’m excited to hear any tips you have to improve my process. Do comment and share your quilty goodness.
Piecing quilt backs not your thing? Then don’t worry, you can ask Laurena’s Longarm Quilting to piece your back for you.
After all, quilting is a pleasure!

I apply dots of liquid Elmer’s school glue along the fold edge (wrong side) and heat set as I go. The dots should be no larger than the head of a pin, and about 1/4″ apart. This way I can adjust and ease the fabric where the print might be off, or compensate for slight fabric stretch. (I leave the selvage edge on to help control stretching). Sometimes I’ll take a chalk pencil and ruler and mark the fold impression if the fold is hard to see. I use this same method in a border where it would really stand out if the motif didn’t match (usually when I don’t have enough fabric to cut a full border from the length).