After the Machine Quilter’s Expo, lovely delightful packages and downloads arrived in the studio. Hurray! New paper pantograph and Statler Stitcher quilting patterns for all of us to enjoy. While Laurena knew the contents of the packages, it was still nice to watch the paper patterns unroll.
With so many paper and digital quilting patterns available, stocking our pattern stash does require strategic thinking. Were we reflecting a wide range of quilting styles? Did we already own something similar? What requests did we receive?
Whether you rent longarm quilting machines or have us do it for you, here’s a few highlights of what’s been added.
For paper pantographs to use on the hand guided machine:
Easy Peasy which features nested angles and arcs and gives a wonderful allover texture. The 6″ pattern by Lorien Quilting offers the opportunity to practice tight curves and points without worrying about exact positioning.
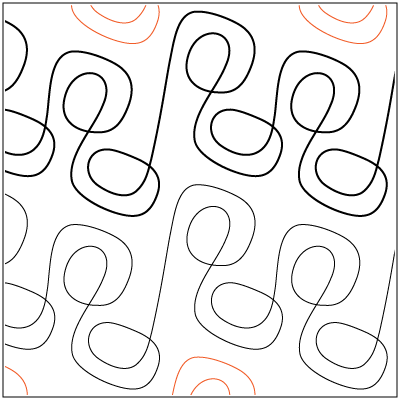
Whoosh and Denise’s Spirals create movement and work well in linear quilts.
Zydeco is a really relaxing pattern with fun energy that looks great on quilts for all ages.

On the Statler, we’ve downloaded one of Anita Shackleford’s Modern sets. Then there is Camelia with its graceful blossoms.
Alanna and Gwen have been working to get a fairly complete list of digital quilting patterns available for you to peruse in the shop and from the comfort of your own digital device. Gwen’s stitching out patterns when she can sneak in a row. These are on display at the Studio, too.
At your next appointment to choose patterns or quilt your own quilt, take a minute to see what’s new. As always, Laurena is happy to add patterns.